How to make kits: TUTORIAL
How to make PSG Nike Home Kit 2018-2019
|
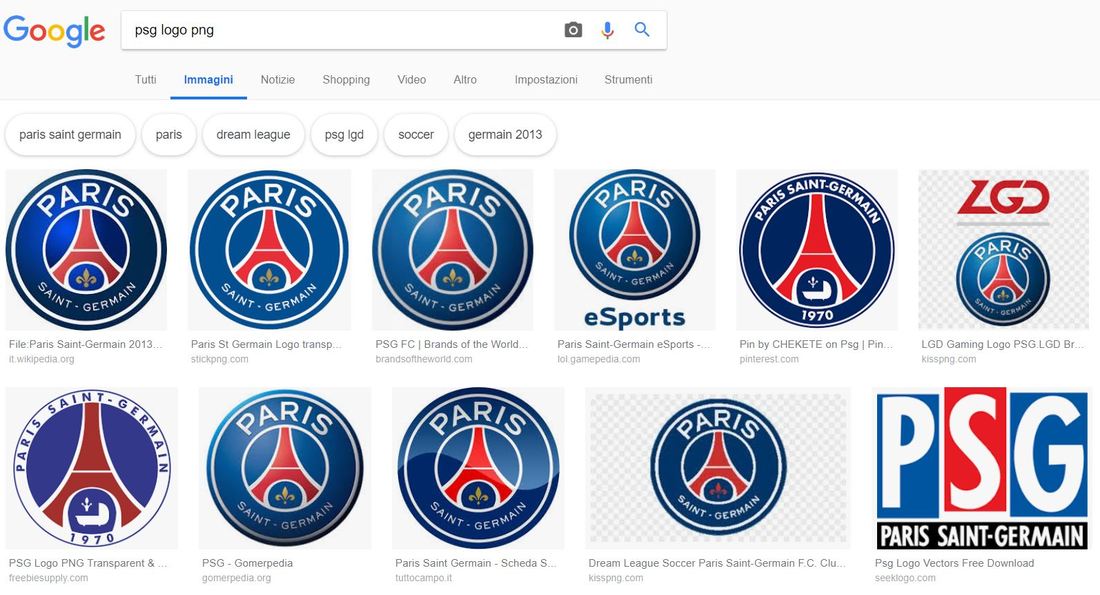
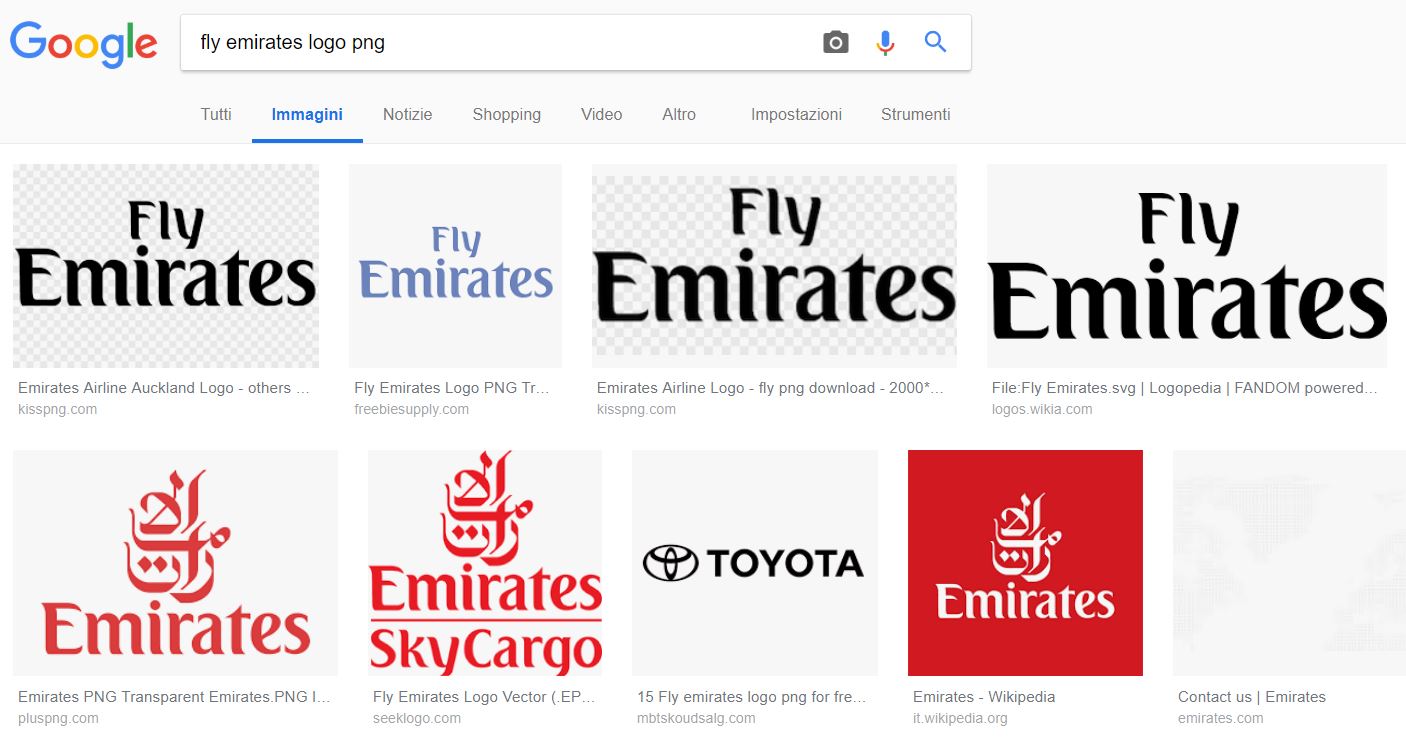
1. Search and Save PSG and Fly Emirates logos (png) *png format maintains transparency |
|
|
|
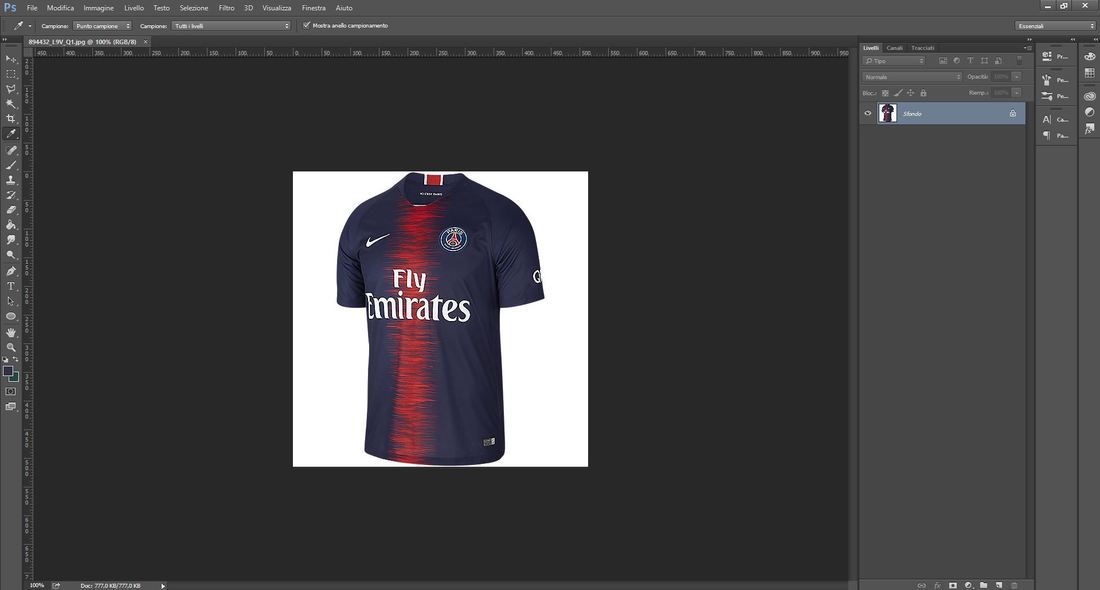
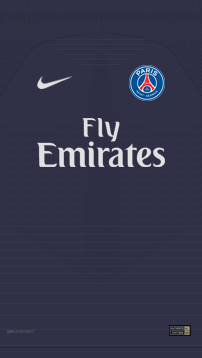
2. Open PSG Home Shirt in Photoshop.
|
|
3. Open ES Template (Front), PSG and Fly Emirates badges in Photoshop.
|
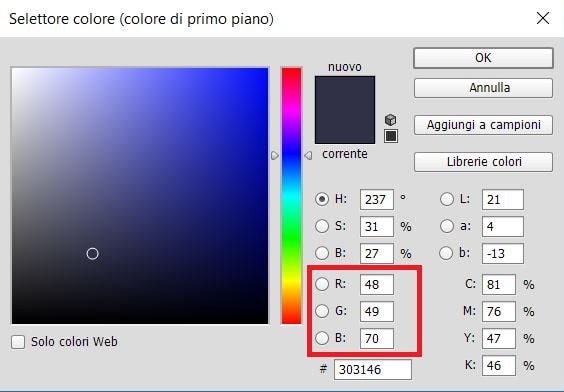
4. With Eyedropper Tool (Fn + I) Select Navy Blue color and with Bucket Tool (Fn + G) color the background of Es Template Front (This will be the color of the kit)
*Remember the RGB colors in the game are different so when you select Rgb color of Photoshop's image, you must divide all 3 numbers to 4 Example: In this Image --> The RGB colors are 48, 49, 70 Now you must divide these numbers to 4. 48:4 = 12 49:4 = 12 70:4 = 17 In the game you must use 12,12, 17 for Navy Blue Shirt. |
|
|
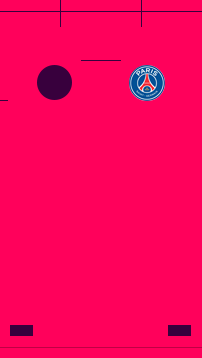
5. Move PSG badge on template and click Ctrl + t (Free Transform) scale the badge to 36x36 and with the use of Shirt Template move the logo over the purple circle on the right.
|
|
|
|
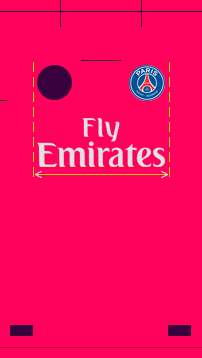
6. Open Fly Emirates logo, double click to the level's image and set the color to White (225, 225, 225).
Move the logo on template and scale the image but pay attention, scale the image following the length of two purple circles. |
|
|
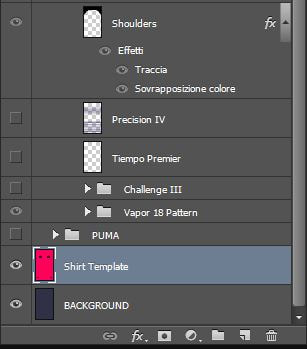
7. Make visible and open the Nike folder, hide "Shirt template".
Make Visible "Vapor 18 Pattern" Folder. Open "Graphic 2018" Folder and set "Shoulders" level with the same color of the shirt. Make visible "Pattern Shoulders VaporKnit Strike". Set "VaporKnit Strike 1" to the same color of the shirt. |
|
|
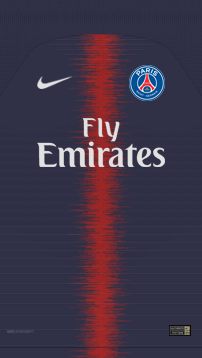
8. Open "Autenticity badge" and change "Dri-Fit Logo" to "AeroSwift logo"
Of course there's not the Central Vaporknit Red Stripe" in this template so i'll do it myself ;) Save your PSG Home Shirt (Front)! |
|
|
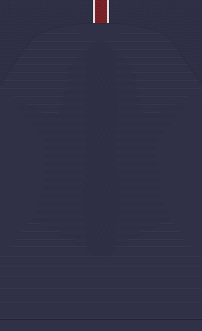
9. Open ES Template (Back) and with Bucket Tool (Fn + G) color the background of Template.
Open Nike Folder, make visible "Vapor 18 Pattern". Change Shoulders and VaporKnit Strike color to the same of the shirt Open Neck Tape folder and change the color to red and white. Save your PSG Home Shirt (Back)! |
|
|
10. Open ES Template (Sleeve) and with Bucket Tool (Fn+G) color the background of template.
Make visible Nike folder, open "VaporKnit Strike Right" set the color of "VaporKnit Strike 1" to the same of the shirt and save the file. Open "VaporKnit Strike Left" set the color of "VaporKnit Strike 1" to the same of the shirt and save the file. |

Sleeve Right

Sleeve left
|
|
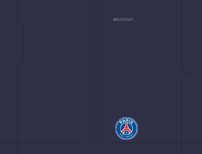
11. Open ES Template (Short Right) and with bucket tool (Fn+g) color the background.
Make visible Nike folder: Change Dri Fit logo to Aeroswift (set the color to white), move the PSG logo of the Front template in this template and scale the image following the width of purple square. Hide red square and Central Seam. Make visible "VaporKnit Strike" folder and set the color of the VaporKnit Strike 1 to the same of the kit (Navy Blue), hide VaporKnit Strik 2 Save your work! |
|
|
12. Open ES Template (Short Left) make visible Nike and VaporKnit Strike folder and repeat the same of the Shorts Right.
Save your work. |
|
|
13. Open ES Template (Socks) and make visible Nike folder. Set "Nike Logo VaporKnit Strike 18" to white. Open "VaporKnit Strike" folder and set Front and Back to red and white. With "Horizontal Type Tool (T) write PARIS (choose a similar font). Make visible Frontal Level and save (1). Hide Frontal level, make visible Back level and save (2). Well Done! |
|